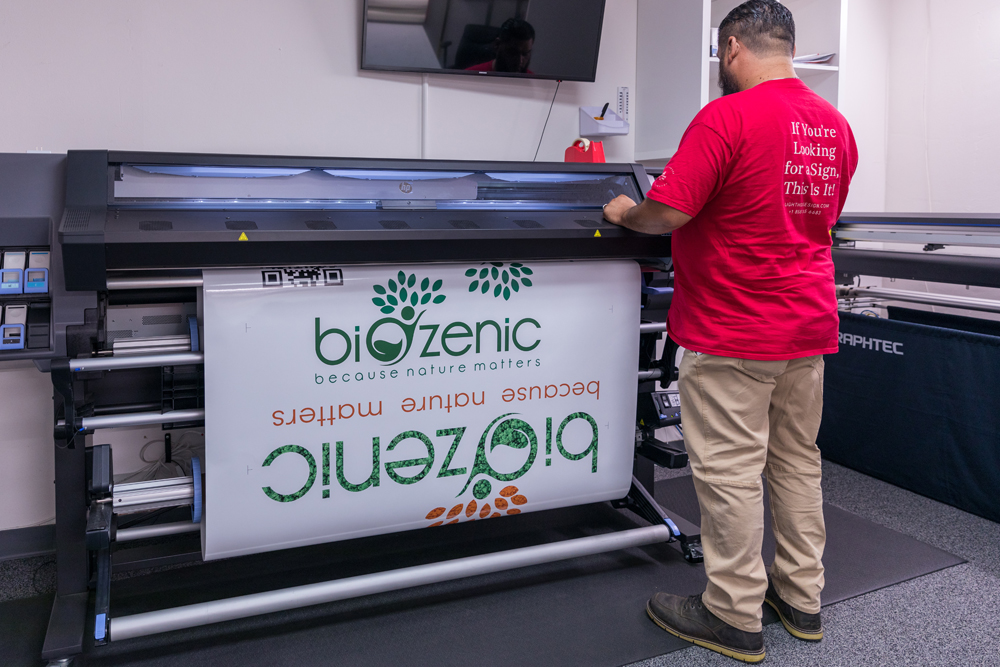
Embarking on a large format printing project can be exciting, whether it’s for banners, posters, or other visually striking materials. To ensure the success of your endeavor, it’s crucial to prepare your files meticulously. This guide unveils essential tips and techniques to help you master the art of preparing files for large format printing, ensuring your prints are not only impressive but also visually flawless.
1. Understand Your Printer’s Specifications:
- Mistake: Neglecting to understand your printer’s specifications can lead to unexpected results, such as distorted images or poor resolution.
- Solution: Familiarize yourself with your printer’s specifications, including its maximum resolution, color capabilities, and acceptable file formats. This knowledge forms the foundation for optimal file preparation.
2. Set the Right Resolution:
- Mistake: Using low-resolution images can result in pixelation and a lack of clarity in your prints.
- Solution: Ensure your images have a resolution of at least 300 dots per inch (DPI) to guarantee sharp and detailed prints. Adjust image resolutions using graphic editing software to meet the printer’s requirements.
3. Choose the Correct Color Mode:
- Mistake: Neglecting to switch your color mode to CMYK can lead to unexpected color shifts in your prints.
- Solution: Convert your files to the CMYK color mode, which is standard for print projects. This ensures that the colors in your digital files align accurately with what appears in your printed materials.
4. Use the Right File Formats:
- Mistake: Using incompatible or low-quality file formats can compromise the quality of your prints.
- Solution: Save your files in high-quality formats such as TIFF, PDF, or EPS. These formats preserve the integrity of your images and graphics, providing optimal results during the large format printing process.
5. Pay Attention to Bleed and Margins:
- Mistake: Ignoring bleed and margin considerations can result in unintentional cropping or cutting of important elements.
- Solution: Extend your design elements beyond the trim line to create a bleed area, ensuring that no essential content is lost during the printing and trimming process. Similarly, set appropriate margins to prevent important details from being too close to the edges.
6. Vectorize Text and Logos:
- Mistake: Relying on rasterized text and logos can lead to pixelation when enlarged for large format printing.
- Solution: Convert text and logos to vector format whenever possible. Vector graphics maintain crispness and clarity regardless of size, ensuring professional-looking prints.
7. Perform a Test Print:
- Mistake: Skipping the test print step can result in unforeseen issues, such as color discrepancies or formatting errors.
- Solution: Before committing to a large print run, produce a small test print. This allows you to identify and address any issues, ensuring the final prints meet your expectations.
8. Consider File Compression:
- Mistake: Uploading large files without compression can lead to extended print times and potential printing errors.
- Solution: Compress your files using appropriate methods to reduce their size without compromising quality. This speeds up the printing process and minimizes the risk of errors.
Preparing your files for large format printing requires a thoughtful approach to ensure your vision translates seamlessly onto the printed materials. By understanding your printer’s specifications, optimizing resolution, using the right file formats, and considering bleed and margins, you set the stage for successful large format printing projects. Follow these tips, perform test prints, and refine your files as needed to achieve stunning, high-quality prints that make a lasting impression.


